Monday, June 18, 2012

Building the Super PC (Part 3)

After a week hiatus while I've been seeing the sites in Our Nation's Capitol and my PC has been sitting here languishing, I have returned to finish this machine and hopefully turn it on to see if it works.

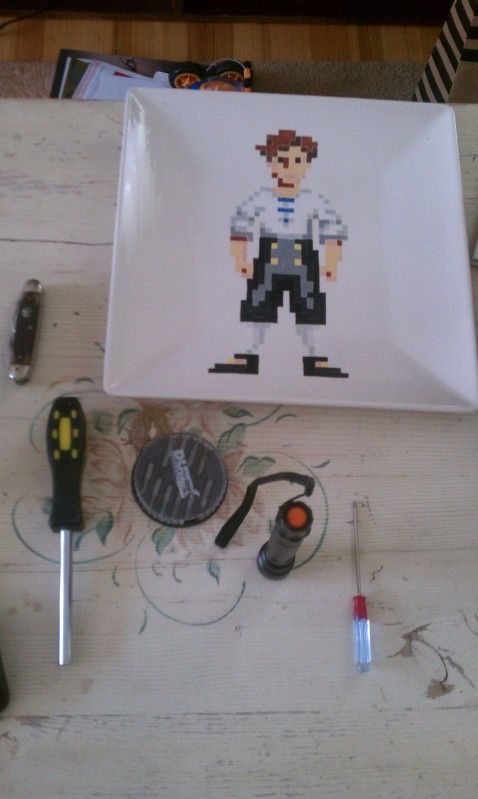
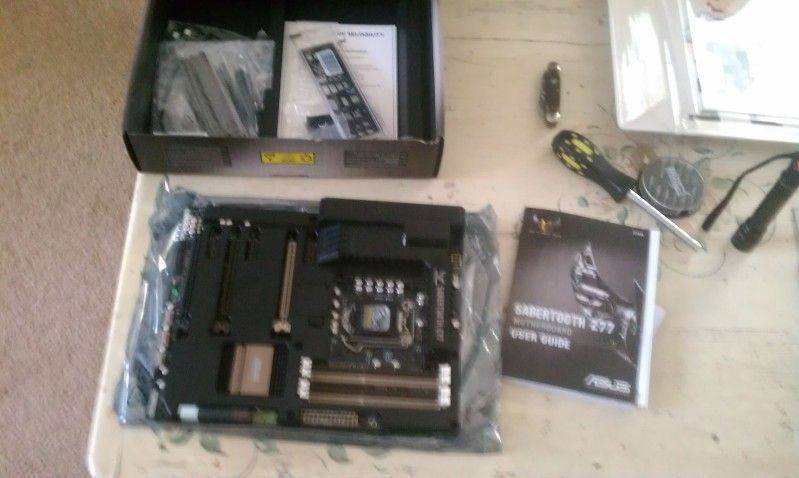
First thing: research!

According to this article from Intel, which I'd consider a trustworthy source, I can plug in the 3-pin chassis fans into the 4-pin headers.  Okay, so let's plug those in.

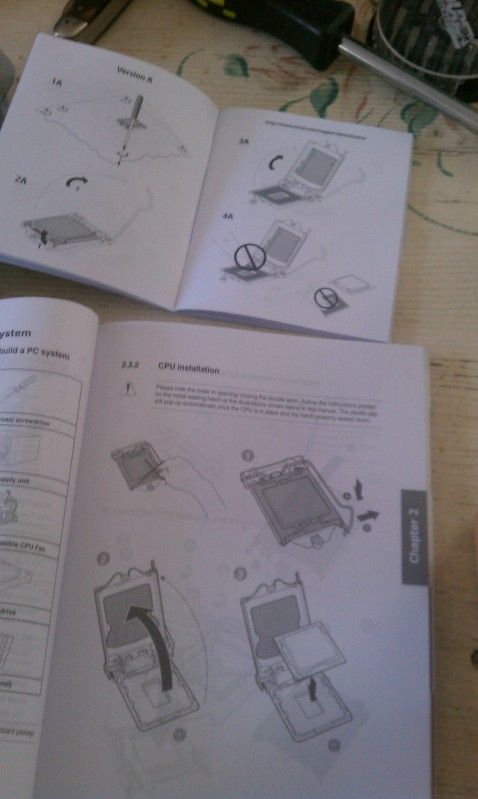
Also, the Q-connector is still bugging me.  I'm not sure I got all the plugs on the right pins, which will lead to things like the power button not working, or HD lights not blinking.  I can buy one here, or call customer service and deal with that.  I asked my friend Joe if he had one and he graciously let me rummage around in his parts boxes, but I think all of his were already in his various PCs.  In the end, I just leave them all plugged in directly to the motherboard and hope.

So the last thing to do before turning it on is to install the video card.  I got an Nvidia GTX670, which is supposed to do great things in the power management department.  Joe says ATI cards still have better power management, but the one set of ATI cards I've had were a nightmare of bad drivers.  Actually, that's not true. I have an ATI Mobility Radeon 5850 in this laptop and it has been fine for everything, although I tried updating the drivers from ATI and not from Alienware and everything went kerflooey until I restored the Alienware drivers.

I digress.


Holy shit, this video card comes with a poster.  I assume I'm supposed to be so proud of my video card I'll want to decorate my walls with marketing materials for it.


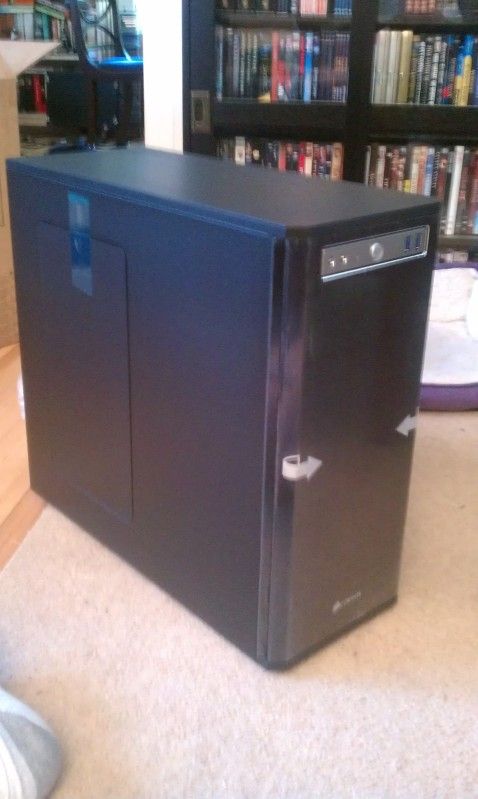
And stickers!  I like stickers on the case, but these stickers are really big.  The motherboard has a big sticker  too.  I may forego stickering my Batman case.


This is a beast of a card.  It comes with power connectors, but, once again, the ones that came with my power supply are black, and look better.


Simple and quick to get it in.  Now to get the power to it...


The correct power cables are conveniently labeled PCI-E, and this card needs two of them.  I'm not doing an SLI setup, as one of these cards is plenty at the moment.

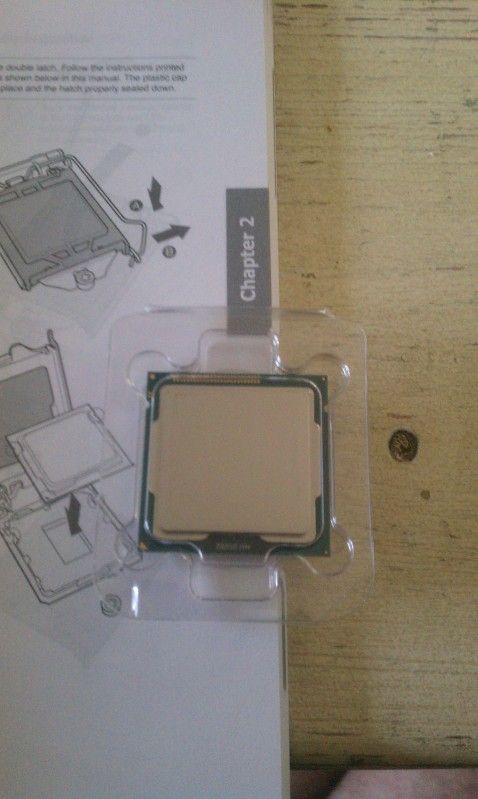
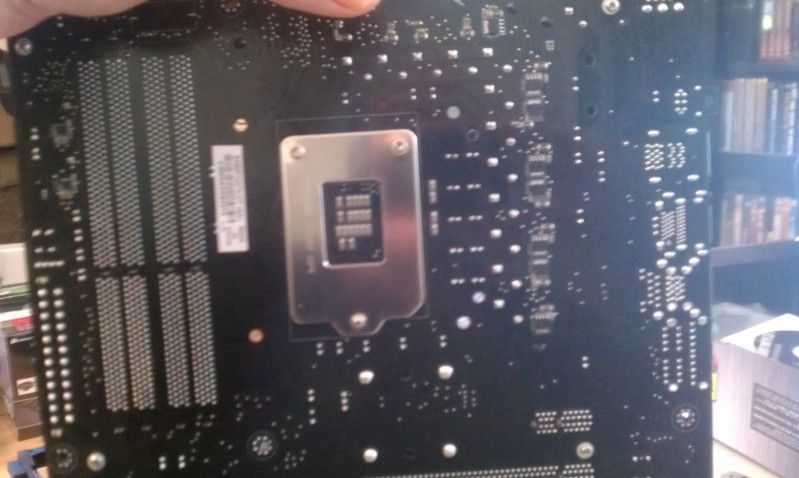
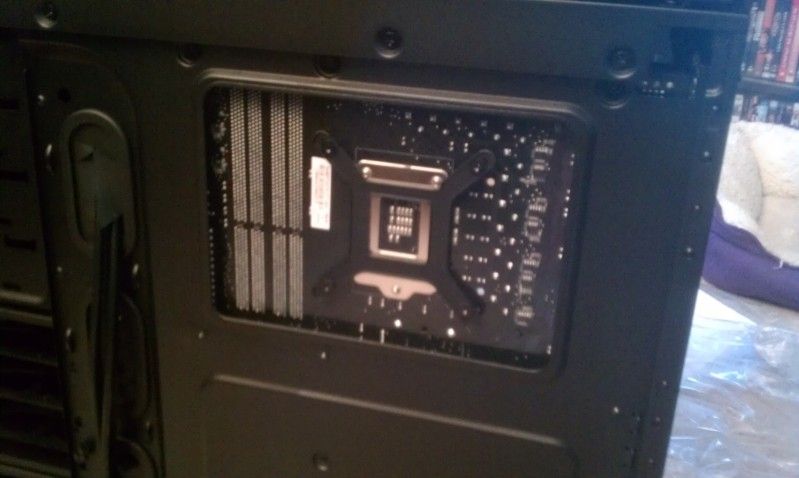
So that's it.  The next thing to do is plug it in and fire it up.  My next worry is whether the BIOS supports my CPU.  According to this website, if I have a BIOS earlier than 0801 then I have to flash it, which will be a whole other adventure, but I don't know what BIOS I have until I boot it up.

To start I'm going to leave the covers off the case, and just plug in the monitor, mouse, and keyboard.  Fingers crossed.


The old beast.  I suppose even gigantic PC fashion changes, because five years ago the clear case with lots of blue LEDs and chrome on the front was awesomely cool.  Now it feels like something from the 80s.  Black is in.  This case was also my first one that wasn't a beige box.


IT BOOTS!  I have BIOS 1015 on the board, so yay!  No flashing of the BIOS.


This is the most high tech BIOS setup screen I've ever seen.  I'm used to blue DOS-looking stuff.  The clock is 12 hours fast, so I fix that.


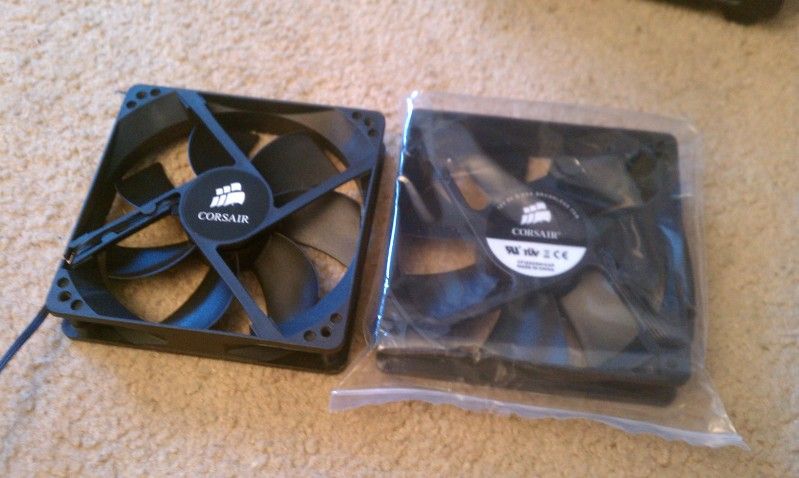
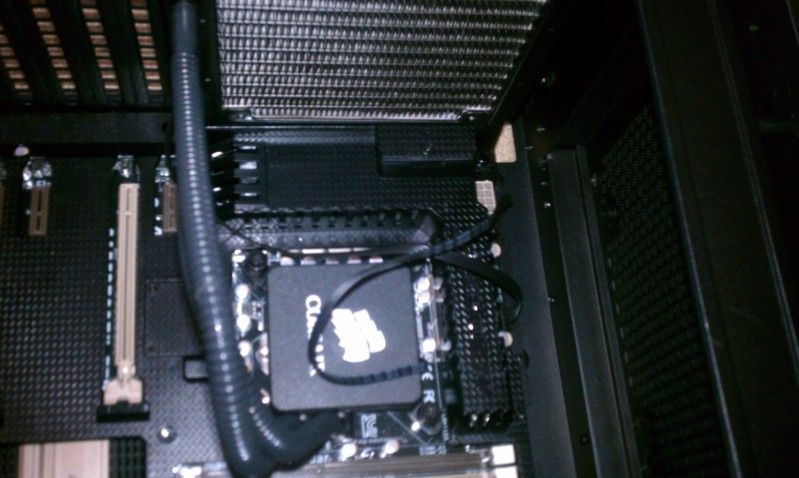
This is also whisper quiet.  The first thing I check is the CPU fan, and guess what?  It's facing the wrong way.  I have to take it out and turn it around.  Time to unplug and get that done before I get too comfortable.

That's done, and yes, there was an arrow indicating the airflow direction on the side of the fan.  Once I got it out it was right there.  Whoops.  Time to plug it back in and hopefully get an OS on this puppy.

I have a scare when I turn it on a second time and nothing happens.  I see red lights on the motherboard.  Uh oh.  Oops, forgot the plug in the monitor.  I plug it in and everything seems okay.   I open up my new copy of Win7 Professional, and pop it in the blu-ray drive.

...

It's now 2.5 hours later.  I don't have many pretty pictures to show here.  I've got Win7 in, all the drivers for everything, and then got Chrome in and working, and Steam.  I had a bit of confusion because my SSD was showing up fine in Win7 but the HD wasn't showing up at all.  This article explained it, and made a new volume, calling it "Thelibrary."  Except now everything is still pointed to my C: drive.  I found how to point the libraries (My Documents, My Pictures, etc.) to new folders on my E: drive.There's also this bit of regedting to have your programs and your programs (x86) folders over there.  That's a bit scary because I've now already got programs installed on the C: drive, so will those be lost?  And where will Windows look for itself?  It seems dangerous to regedit that.

Now I've got to move the Steam folder over to E:, and then I've got to pull the HD out of the old computer and install it in the new to copy everything over.  I could just leave it in there, but I like to think I have the fully working old computer to do something with, maybe a media computer.

****

It's now a day later, and I feel like I've traded the headaches of a really slow HD for having the small but fast SSD with the large but not quite as fast HD (though it's still faster than my old HD).  I've got to tell Windows that all my data is over on another drive, and I've got to move Steam over to the big drive.  Some programs will let you install to a non-standard directory, others don't even bother to ask.  I haven't even installed the big ones, MS Office and Adobe CS5.  I worry that if I put them on the SSD, I'll have too little space left for the various programs that are too crappy to let you install anywhere but C:\Program Files.

I've got one last thing to do, and that's pull the HD out of the old PC, and install it in the new one to copy everything over.  I still have plays I wrote in 1987 on a floppy drive.  My Documents folder runs to about 50 GB.

I open up the old case.  Hello old friend.


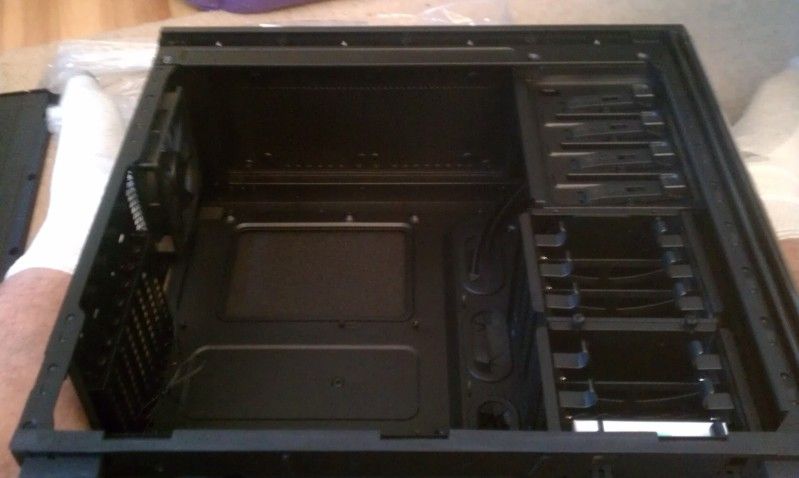
Yeah, I know, my cabling isn't exactly neat.  I quickly pull out the old HD and put it in the new rig.  God these drive bays make things easy.  I remember having to screw my hard drive into the chassis and losing screws constantly.  I don't even need to get the screwdriver out for this operation.


And with a little re-plugging of all my various drives, I now have 2.5 TB of storage in the new PC.  I may just leave that drive in here.

I spend the rest of the day copying things over and installing various software.  This is fun.  There is one more thing.


I go for the small, tasteful stickers on one corner of the case.

Some stats:

The old system Windows Experience Index: 5.9

Processor 6.0
RAM 6.0
Graphics 7.3
Gaming Graphics 7.3
Hard disk 5.9


New system Windows Experience Index: 7.5


Processor 7.5
RAM 7.9
Graphics 7.9
Gaming Graphics 7.9
Hard Disk 7.7


That's a scale of 1 to 7.9


I wanted to compare the 3DMark benchmarks but my old system didn't support DirectX 11, so I had to use 3DMark Vantage.  3DMark Vantage crashes during the first benchmark on my new system, so I don't have a comparison number.


I would say it's faster.


Friday, June 8, 2012

Building the Super PC (Part 2)

Okay, I'm back.

Next comes RAM.  I've done this a thousand times, so I'm not much worried about it.  Modern RAM sure is pretty.


Bonus!  It actually says it's compatible with my motherboard right on the package.  The hardest thing here should be opening the clamshell.


And done.

Next: the motherboard comes with two small fans to blow cooling, refreshing air under all that armor.  They must be installed.  There are two fans in the motherboard box.  They look identical.  I screw the top piece on one of the fans and it tells me there are markings on the side to make sure it's facing the right way.  There are no markings.  I check the other fan, and there are markings.  I take the first fan apart and redo it with the correct fan.

Then I just paste a sponge to the bottom and get this:


Okay, some problems.  Remember the pump said plug it in to any old 3-pin fan header?  Well this little fan has a cord that only reaches to the 3-pin fan header that I plugged the pump into, so I have to find another place to plug in the pump.  It looks like there are only 2 3-pin headers and they're both for these tiny accessory fans.  I need the pump, so it looks like tiny fan #2 isn't getting installed.

Unfortunately the #2 fan connector is under a cover that has to come off.  I checked, and the fans are for serious overclockers or if you live in a sweltering swamp with zero airflow.  With the liquid cooling I should be fine, so I'm just going to take the second cover off and plug in my pump there.


I lost the screw four times and had to shake it out, and cut myself on something.  This build is now typical.


Blood for the blood god!

Now it's time to get the power supply hooked up.


Holy shit, the power supply comes in a velvet bag like Chivas Regal or something.  The first instructions are, "Following the directions in your chassis manual, install the power supply in your computer case with the screws provided."  So you're just passing the buck there, dudes.  And are you providing the screws or is my chassis?  It turns out my chassis is.

Only three of the four screw holes line up, but I'll take it.  This case also has really nice cable management, so I can run everything under the motherboard.


Okay, now I'm mad.  There's a little connector that you plug all the case connectors into, so you don't have to plug all those little things right into the motherboard.  It has to be here somewhere but in all the screws and connectors and bags, I just can't find it.


Honest, it's here somewhere.

*****

It's been hours and I can't find it.  I'm doing it old school, figuring that as soon as I get everything else installed and close up the case it'll turn up.  So I connect the USB 3.0 connection, the HD Audio connection, and all the lights and power connectors.  There are two 3-pin connectors that aren't labeled.  I don't know what they're for.  I'll leave them dangling and see what doesn't work.

EDIT:  It's the two front fans!  So where do I plug those suckers in?  I"ve got lots of 4-pin fan headers, but no 3-pin.  Grr.


Time for drives.  First the blu-ray.  It goes in pretty easily, though I'm using the cables that came with the power supply and mobo instead of the cheap red stuff that came with the drive.


And keeping an eye on keeping the cables neat.


SSDs are tiny.


And the SSD and the HD go in like butter.


And I'm cabling them together for power purposes.  Hope that's okay.  Also, there's 4GB/s SATA cables and 6GB/s SATA cables.  I'm guessing the SSD should have the faster, have to look up the HD.  And it is 6GB/s, so I'm good.

I have so many drive bays on this case that I'm tempted to pull my old 1.5TB drive out of my current computer and put it in here as well.  I think that's what I'm going to do to copy everything over.

I should put the card in, but I have to go get dinner, as my wife is going to be home soon.  Later tonight.

Go to Part 3

Building the new Super PC (Part 1)

The last time I built a PC I had my friend Joe along for the ride.  Joe is an electrical engineer, and specs out computers for the DoD among others.  I've consulted Joe for this build, but to get him here to help build (okay, to get Joe to build my PC while I assisted) would mean waiting a couple of weeks, which doesn't fit in with my, "OMFG, I have all this shit in my living room and I must see what it does!" attitude.  It might also mean getting perilously close to the 30-day return deadline for my parts if they come up defective.

So I'm going this alone.

I've cleared off the living room coffee table as a workspace.  I should have some sort of grounding thing, but it's been rainy and I don't expect to be petting any cats so I should be okay.  I've assembled my tools:


I've got a pocketknife for opening boxes and cutting packaging.  A big screwdriver with adjustable bits for bigger stuff, a mag-lite for seeing into the case once things get in there, a small screwdriver for little screws, and a Guybrush Threepwood serving dish for holding screws so they don't get lost and for moral support.  I also have the laptop out for recording this and looking stuff up.

I've already run into my first problem.  I uploaded some photos from my normal camera yesterday and forgot to turn it off after the upload, so no battery for awhile until that recharges and I'm stuck with the phone camera. Let's get started.

First, the motherboard:


This is the Sabertooth Z77 from Asus.  It doesn't look like the normal mobo because it has all those black plates on it that make it look like the frikkin' Batmobile.  This is Thermalguard armor and it's something Asus cooked up to direct airflow around stuff.  Note that I've put the mobo on top of the bag it came in to protect all the stuff on the back until I get it in the case.  Before we do that we're going to put in the CPU.  I'm just following the instructions that come in the mobo manual now.


And we've already come to our first conflict of instructions.  My mobo says install the CPU, heat sink, and RAM before putting the mobo in the case, and the CPU instructions say put the mobo in the case before putting the CPU in.  I think for the sake of accessibility, I'm going to put the CPU and stuff in first before putting it in the case.  I can always take them out and start over if I can't reach something because they're there.

There are all sorts of warnings about what to touch on the processor and what not to touch.  Also you're supposed to install the processor first, then remove the plastic cover.  The pictures make it look like it will pop off, but it doesn't.  The processor also has a couple of niches cut out so you put it in the right way.  I drop it in (only touching the sides, and close the cover.  I think it's alright.  It seems okay.


And the next problem.  The mobo says this is the time to apply the thermal paste.  The CPU doesn't come with thermal paste, and those instructions don't say anything about thermal paste.  On the other hand, I'm not going to install the heatsink that came with the CPU because I got this:


So let's open it up and hope there are tie-breaking instructions in that box.


Ruh roh, this is kind of scary.  It comes with only pictorial instructions, and the first one is to mount the big fan on the case, along with the big heatsink, then put a bracket on the bottom of the mobo and attach the "Corsair" labeled box to the top of the CPU via the bracket you just mounted.  Good thing I didn't put the mobo in the case, or I'd be taking it out right now.  Still no word on thermal paste though.  To the internet!

This article says the chip runs hot and I should put thermal paste on.  This article tells me how to do it.  The last time I did it, I had to spread it myself and make sure I got a thin layer on everything.  Now you don't have to do that?  Hmmm.  Okay, next question, will the five year old arctic blue from my last PC build still be viable for this? I didn't buy thermal paste this time around.

Actually, the bigger question is can I find my five year old thermal paste.  It doesn't seem to be in the box where I kept all my post build stuff from last time.  Hrrm.  To thermal paste or not?  To the internet!  Now waiting for an answer...

Looking at the liquid cooling system I see a gray square where the heat sink will touch the CPU, I'm pretty sure that's thermal paste and I'll be alright.


While I'm waiting I'm going to open the case and install the fan.


Ooh, baby baby, you are the black monolith of my dreams.

Ah, I see on the box that the thermal past is pre-applied.  All is good.  My next snafu, according to the instructions I'm supposed to put a bracket on the mobo, but the dimensions are wrong.  The bracket doesn't fit the holes.  Looks like my first RMA and I'm back to the thermal sink that came with the CPU.


But no!  After watching the installation video from Corsair, I see that the bracket is adjustable!  I am back into liquid cooling!

Oh, and I put the mobo into the chassis because I'm a dumbass and this chassis is designed to give you access to everything you need.


I put the screws in the bracket, but the bracket is still kind of loose.  I can't tighten it anymore, and the only other possible mounting screws don't fit, so I guess I have it okay.

I take the fan that comes with the case out, to replace it with the one that comes with the liquid cooler.


The one in the bag is the new one.  This case comes with places to mount extra fans, so I guess I can use the old case fan in one of the other places you can mount one.  Okay, time to mount the new fan and heat sink.

Fuckers!  This fan and heat sink are made by the same company (Corsair) as my case.  My case is all "low noise" so there are rubber nubbins around my fan screw holes.  This means that the screws that come with the liquid cooling system aren't quite long enough, but if I line it all up, and squish those nubbins, then it just barely fits.  It's wrestling with the screw, the fan, and the heat sink while trying to work a screwdriver.  I finally get it.

Then I put the liquid cooled part on the CPU, and plug the big fan and the pump in.  The instructions for the pump are to plug it into any 3-pin fan header on the motherboard.  So I have to go look one of those up, but I get it.


1.  Mobo is intalled in the case
2.  CPU is on the mobo
3.  Heat sink is on the CPU

Time: 3 hours.

I'm breaking for lunch.

Go to Part 2